Preparation Time: 125 mins
Cooking Time: 30 mins
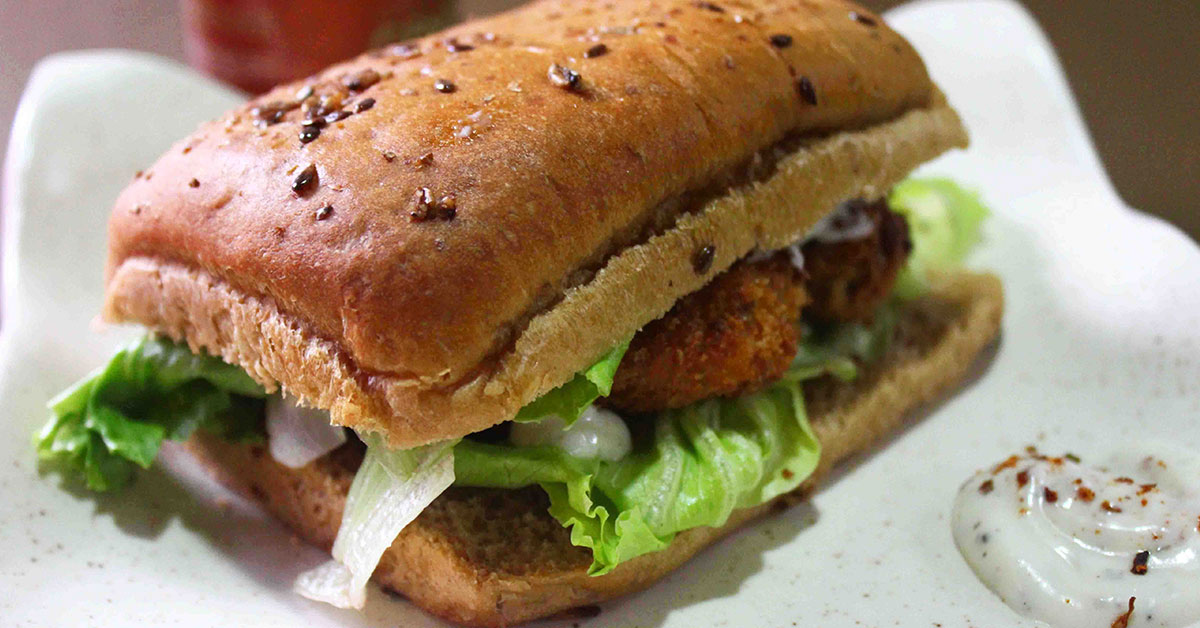
There are two components to this recipe: the fish finger and the garlic mayo dip. Both the components are wrapped into a panini bread to make a delicious sandwich.
Ingredients
For Fish Fingers
- ½ cup cubed boneless fish pieces
- ½ tsp ginger paste
- ½ tsp garlic paste
- 1 tbsp lemon juice
- 1 tsp salt
- ½ tsp pepper
- 2 tsp Sprig Genoa spice blend
- ½ cup corn flour
- Egg
- ½ cup panko breadcrumbs (or normal breadcrumbs)
- Oil (for frying)
For Garlic Mayo Dip
- 1 tsp garlic paste
- 1 cup mayonnaise
- ½ tbsp lemon juice
- ¼ tsp salt
- Oregano/Italian herbs and pepper to taste
Directions
Marination
- Clean the fish and slice it vertically into pieces
- Take the centre pieces, separate the flesh from bones to get small rectangular fish fillets
- Mix all ingredients for marination in a bowl
- Apply the marinade to the fish fillets and set it aside for about 30 minutes
Frying
- Prepare the corn flour, egg (beaten) and breadcrumbs in 3 different bowls
- Dip the fish in the flour first; make sure it is properly coated
- Next, we dip the fish into beaten egg and coat it properly with it
- Finally, coat it generously with panko bread crumbs as it gives a crispier exterior after being fried
- Heat oil in a pan, dip the pieces one by one (to avoid over-frying) and fry until golden brown; after initial heating, the fish will get fried really quick, so be aware
- Keep the fried pieces aside and move on to the next step
Garlic Mayo Dip
- Add 1 cup mayonnaise to a bowl
- Add all the other ingredients to it
- Mix well and let it chill for at least half an hour
Final Dish
- Slice the panini bread in half horizontally (you may use whole wheat bread)
- Place lettuce leaves on both sides of the bread, add fish fingers on one side, top it with garlic mayo dip and serve it as a sandwich
- Relish the crispy-crunchy, hot-cold combination and have a hearty evening meal
- You can simply have the fish fingers with the dip if you want; the fish fingers can be prepared beforehand and frozen until required
Recipe and photo courtesy of designedbite.com

